1. Go to Sell > Live Events and click the ‘+ Live Event’ button from the toolbar within Recast for Business

Please note: If this option is not available you can contact partnersupport@recast.tv to enable it on your account.
2. You will need to add a title, description and thumbnail image for your event.
Thumbnail specifications:

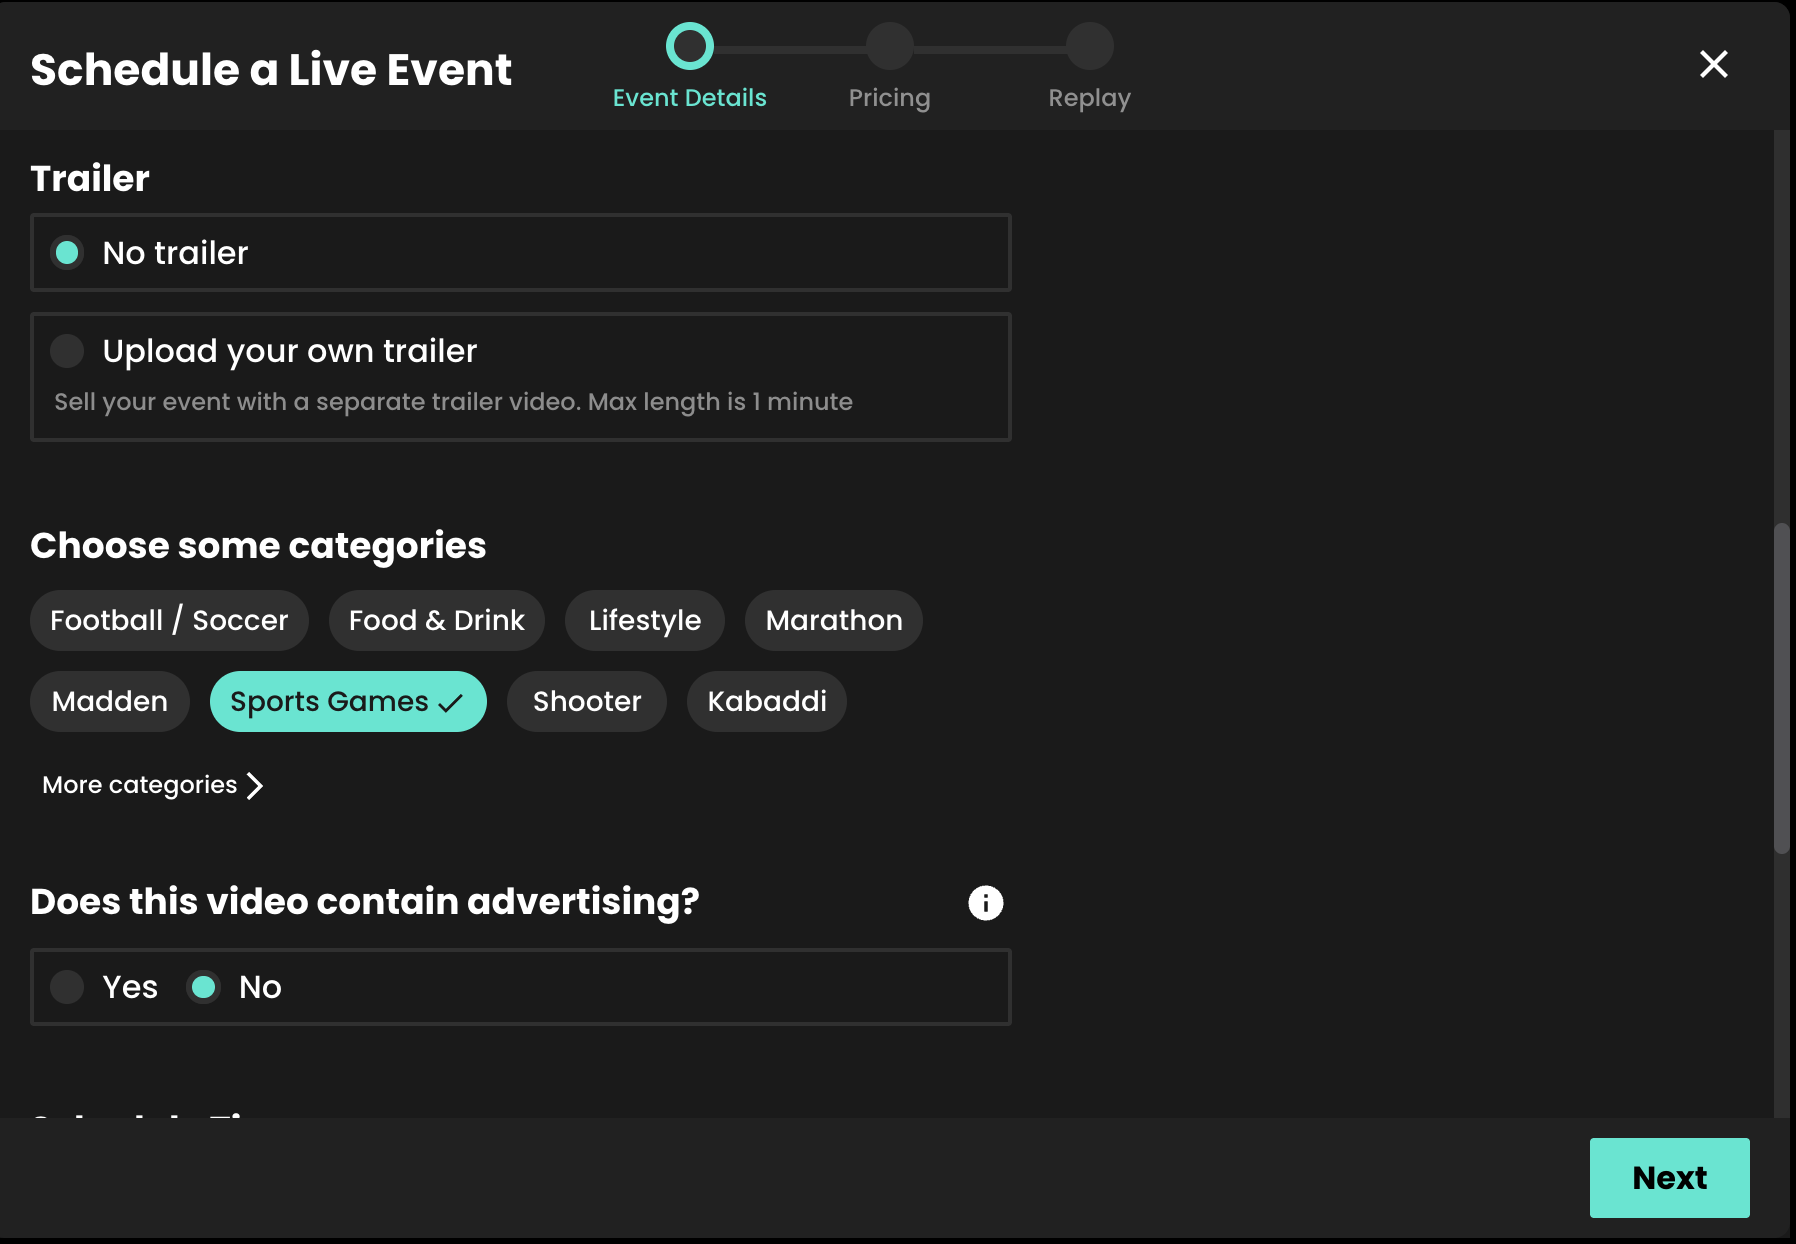
3. Select whether or not you wish to upload your own promo trailer for the event. This will appear on your Widget.
4. Select the appropriate categories. Categories appear on your widget to allow your users to find your content easily. You can automatically request new categories to be added if required.
5. Select whether or not your stream contains advertising.
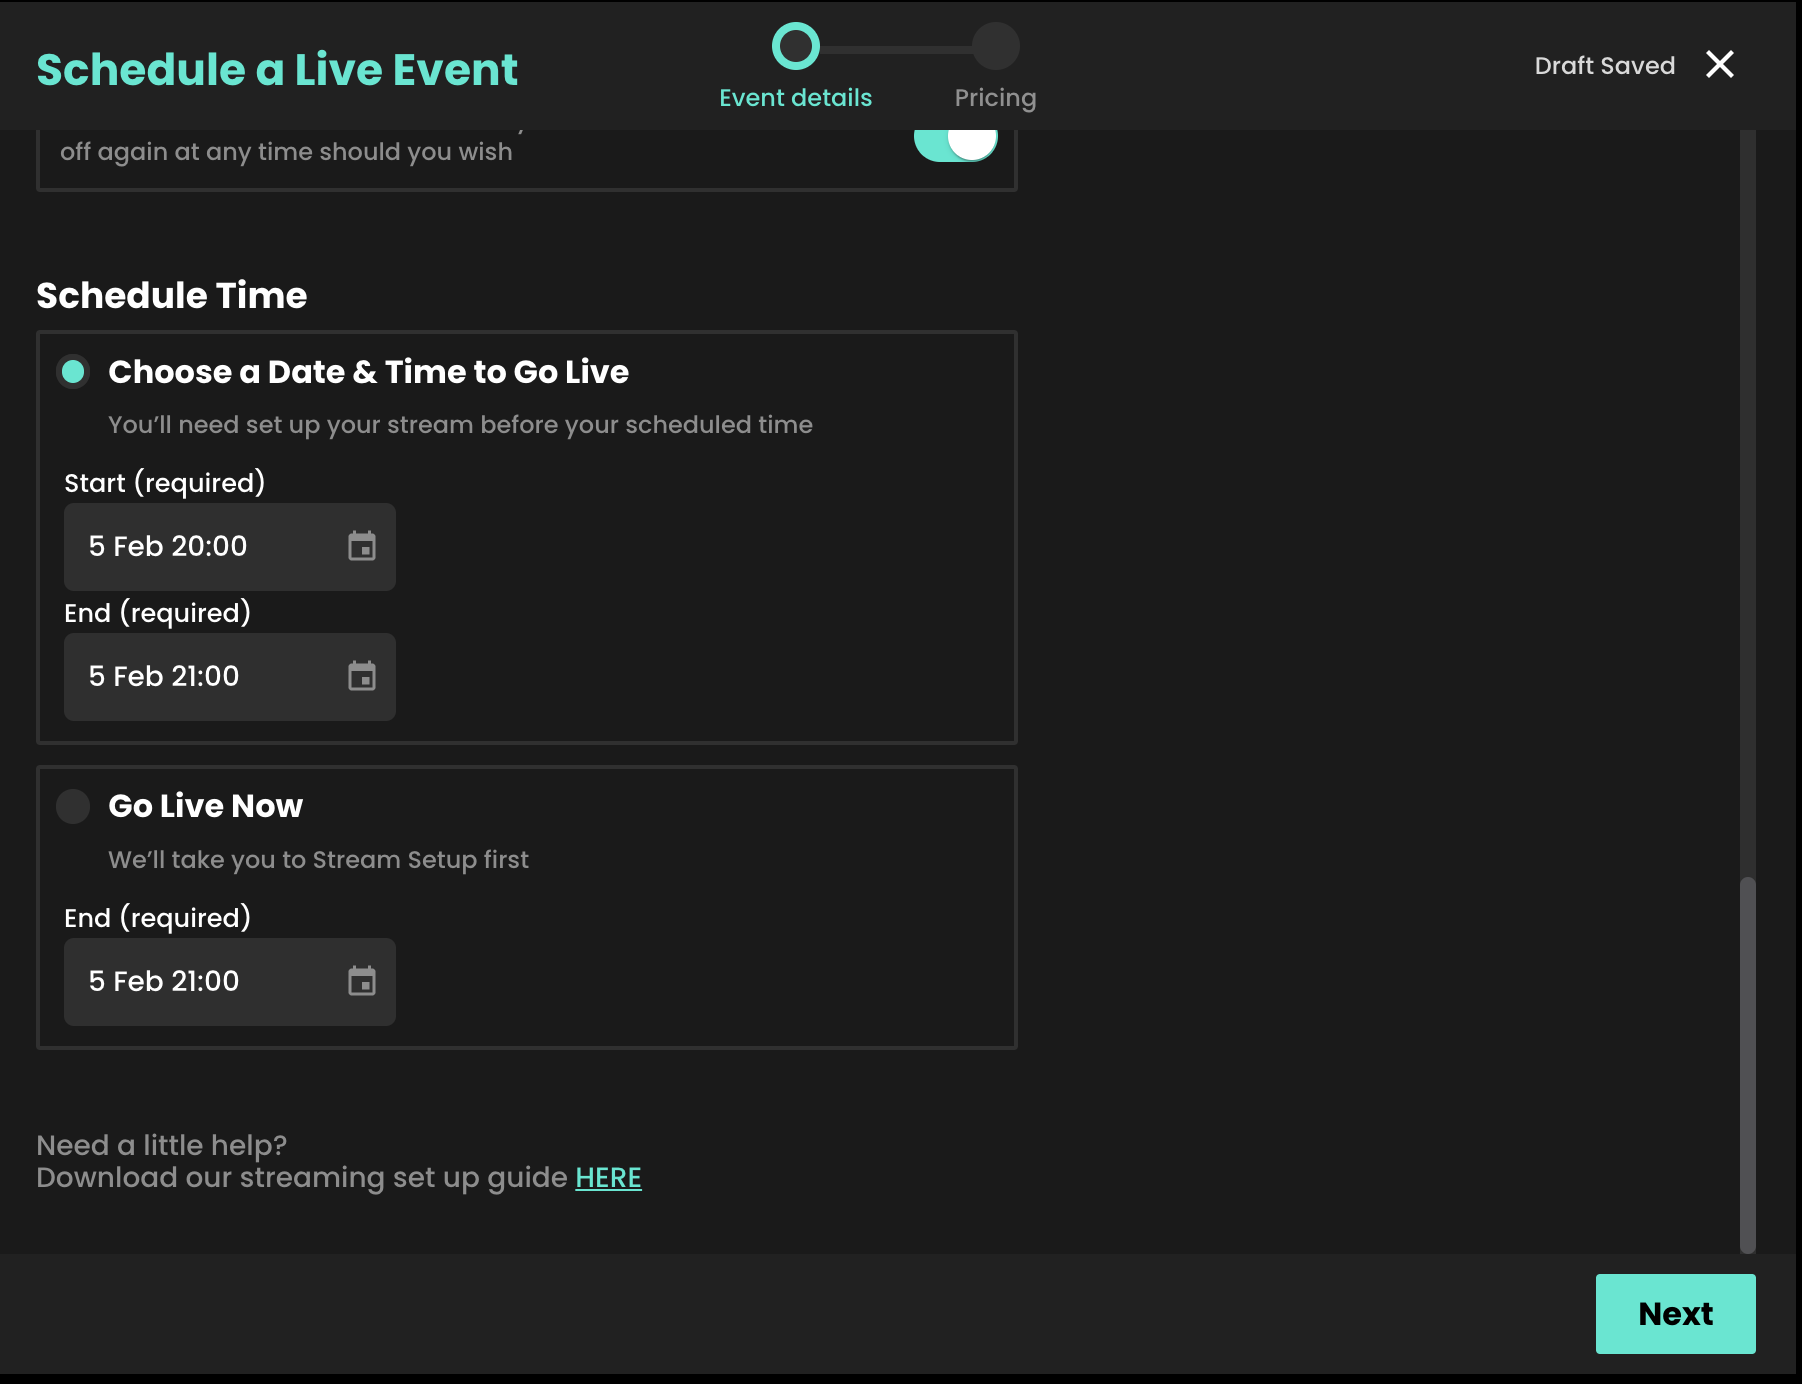
6. When setting up an event, you can either choose to go live immediately or schedule your event for a later date.
7. Select your price. Our recommended pricing guidance takes into consideration the length of your stream and what other Vendors would typically charge for a live event.
8. You can select which countries you want your content to be available in when scheduling an event. This can then be edited at any time, e.g. if you require temporary geo-blocking for broadcast deals already in place.

You can find an up-to-date list of the countries Recast is currently available here. You can also create a default list of countries you want your content to be available in, so you don’t have to select countries every time you set up an event.
9. The share value is the amount any third party will earn when either Sharing your content using Share & Earn links, or hosting your content using Host & Earn Embed Widgets.

10. Adding DRM (Digital Rights Management) gives you additional protection on your content from being illegally downloaded and shared. To do so, click "Enable DRM:

11. Click Schedule Event to complete the set up of your live stream.
For more information on generating Replays, either manually or automatically, click here.
