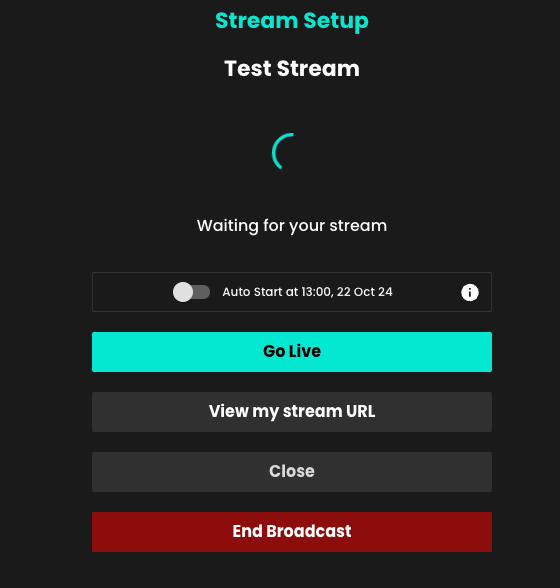
It's important that you run a test stream ahead of your first live stream, or any subsequent steams in different venues or using different equipment, to ensure that your streaming set up has no issues when connecting to Recast. It's easy to run a test stream, in such a way that it does not show to the public. Here's how:
Firstly, please let us know when you are planning on running your test stream so we can arrange to be on hand to support. Email us at partnersupport@recast.tv to agree a time.
1. Log in to Recast for Business
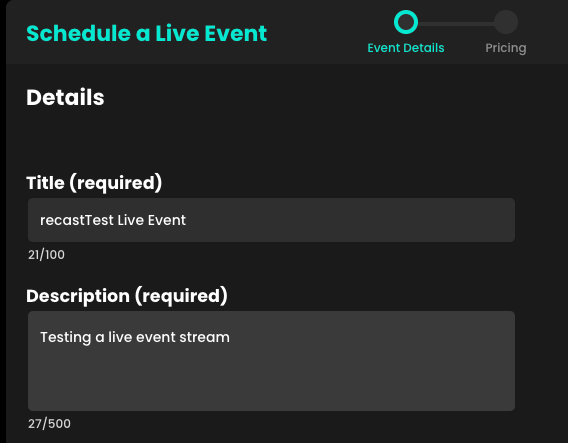
2. Go to Sell > Live Events and click on the ‘+ Live Event’ Button
3. Add a title and description. IMPORTANT - To get this to work in such a way that the public will not see this on your widget(s), you need to make sure the Title starts with ‘recastTest’ (minus the quotes) exactly as typed here. (The capital T is important!). You can add a space at the end and add some more text if you wish.
4. Just fill in the rest of the details and your test event is all set up.
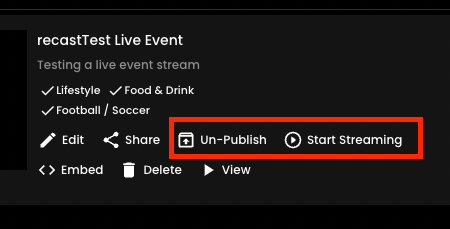
5. You should “un-publish” the event as soon as you’ve created it. It’ll still be visible to allow you to continue your later on.
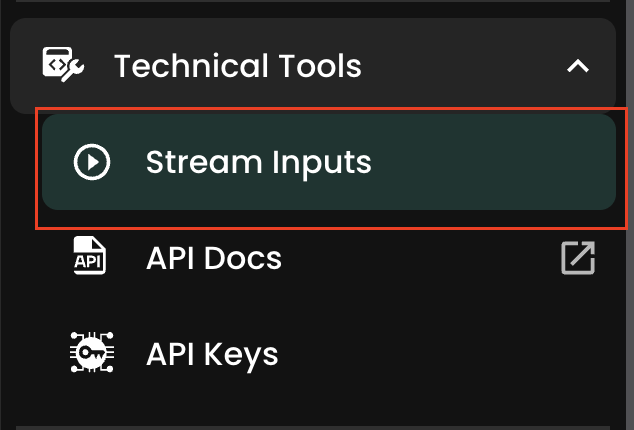
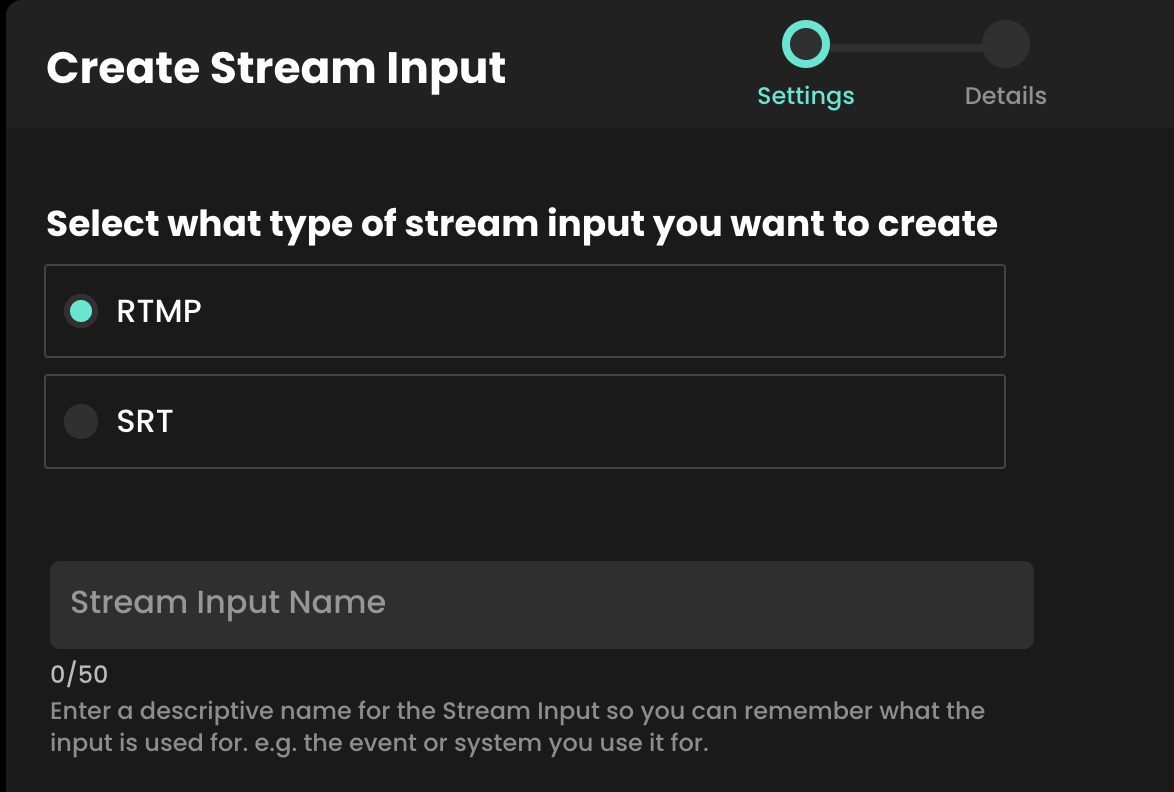
Streaming with Recast requires you to connect your broadcasting equipment to Recast, using a stream input method. Recast supports live streaming using two different streaming protocols: RTMP or SRT. Those managing the stream will have a preference.
One you've determined which streaming protocol you'd like to use, you need to set up the stream input:
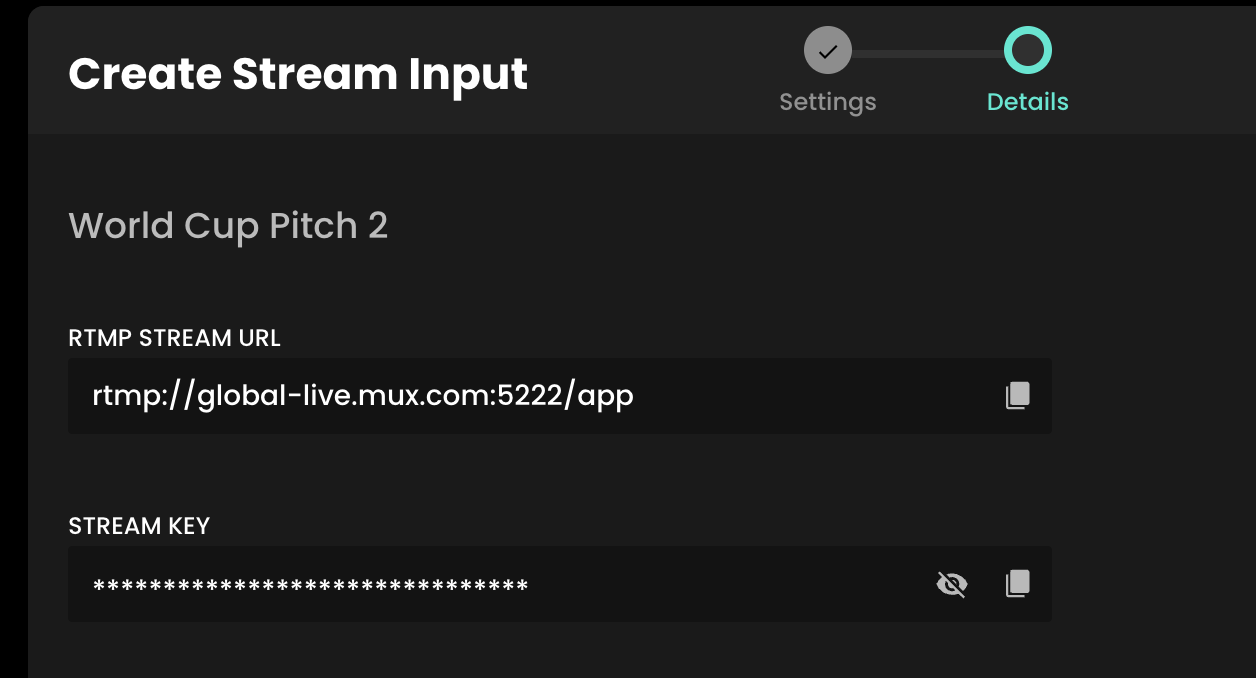
RTMP Example
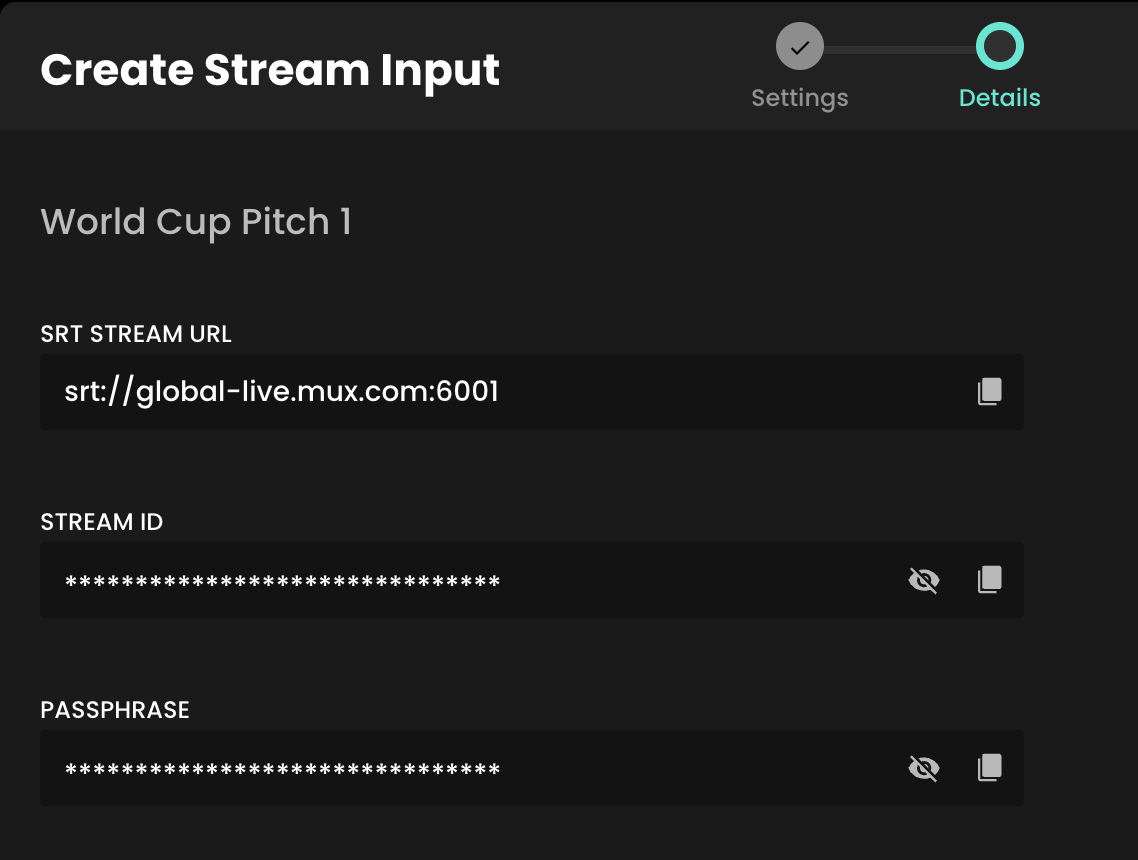
Firstly, make sure your streaming equipment is on, and that it's sending a signal to Recast via the stream input method you selected. You do this by inputing the information you copied in the step above into the relevant fields in your streaming solution.
For SRT this is typically the Endpoint, Stream ID and Passphrase.
For RTMP this either the Endpoint, the Stream Key, or a combination of both which makes up the Stream URL.