
A Channel Page Widget lets publishers choose selected content and bundles from multiple approved brands. Arrange them in your Channel Page Widget, plus create your own Featured Content Carousel.
A Channel Page Widget builds on a Content Widget. Instead of embedding one brand's full catalogue of content, or a simple widget with only videos and events from brands, you can build a full channel page on your own site, made up of:
You then style the page to match your site and embed it with a single line of code.
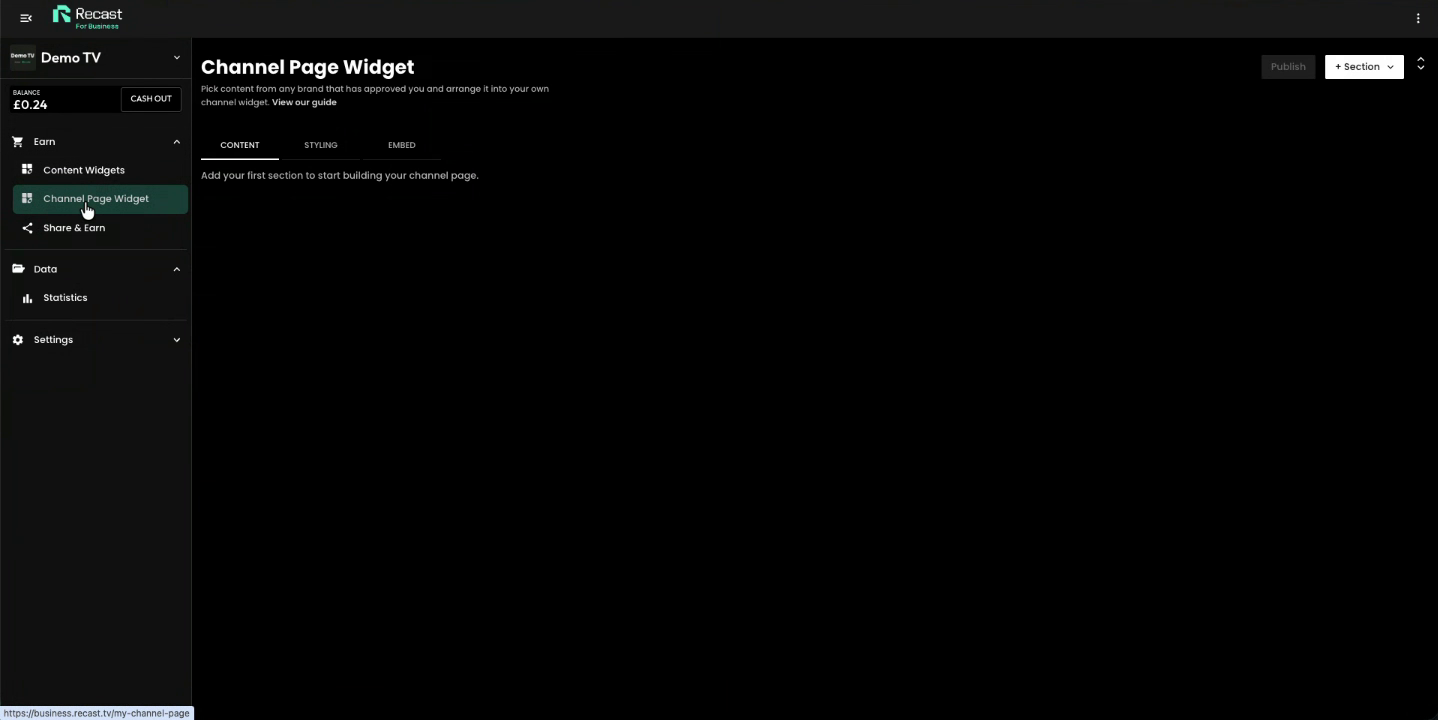
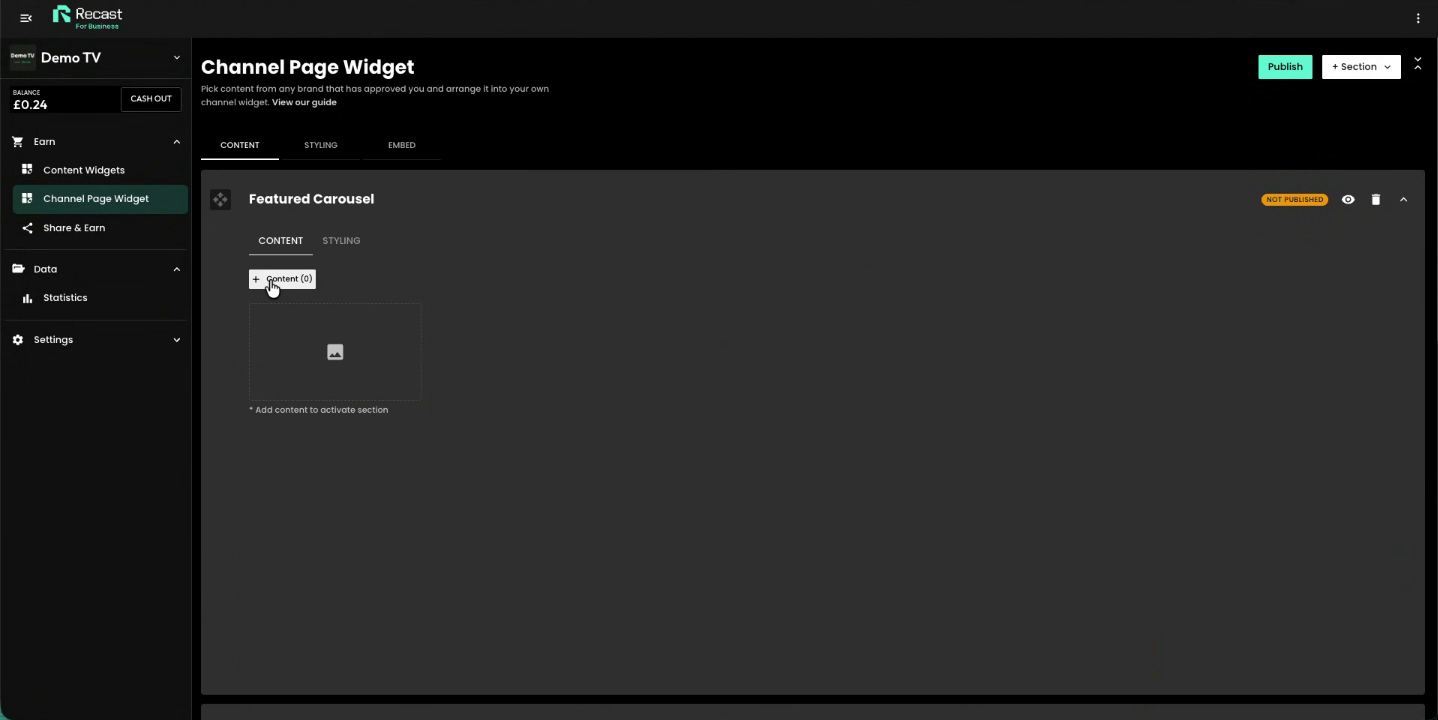
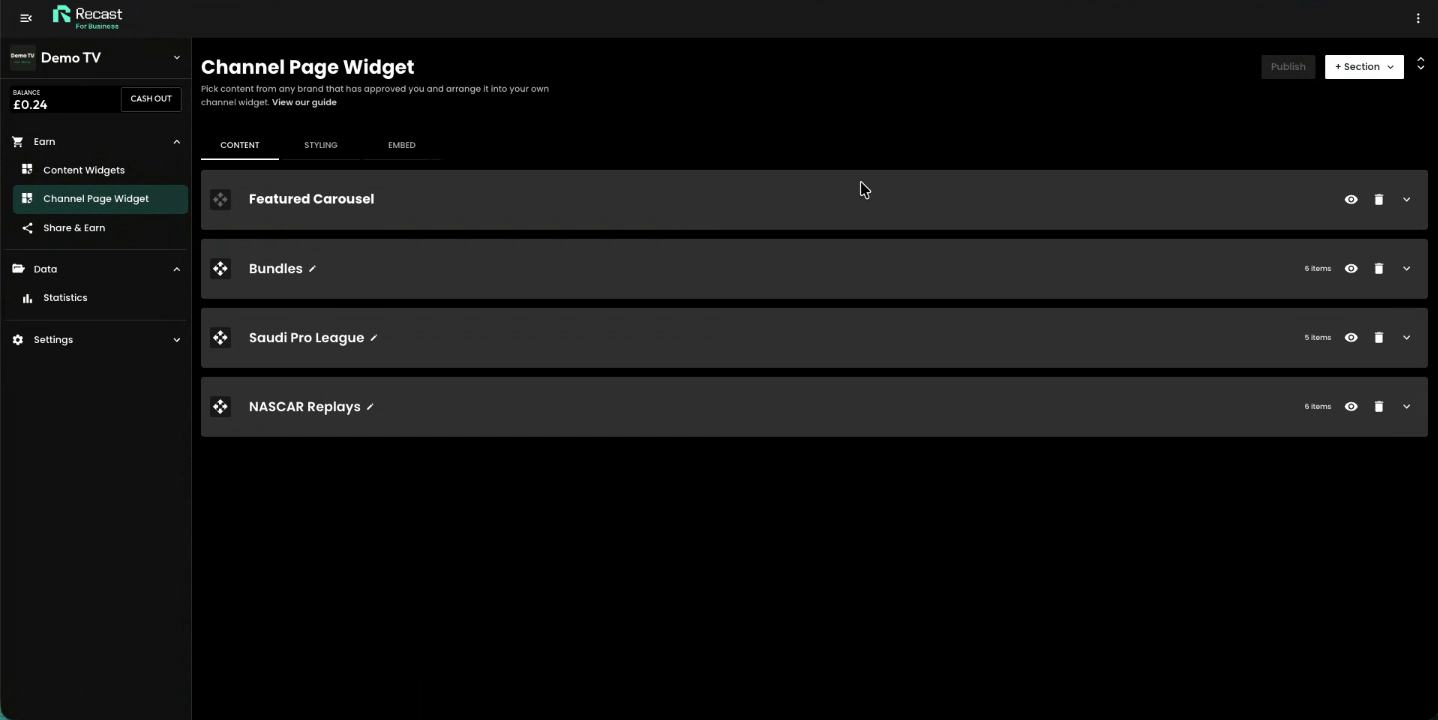
To open the builder, go to Earn > Channel Page Widget in the left-hand menu. A new channel page starts empty.
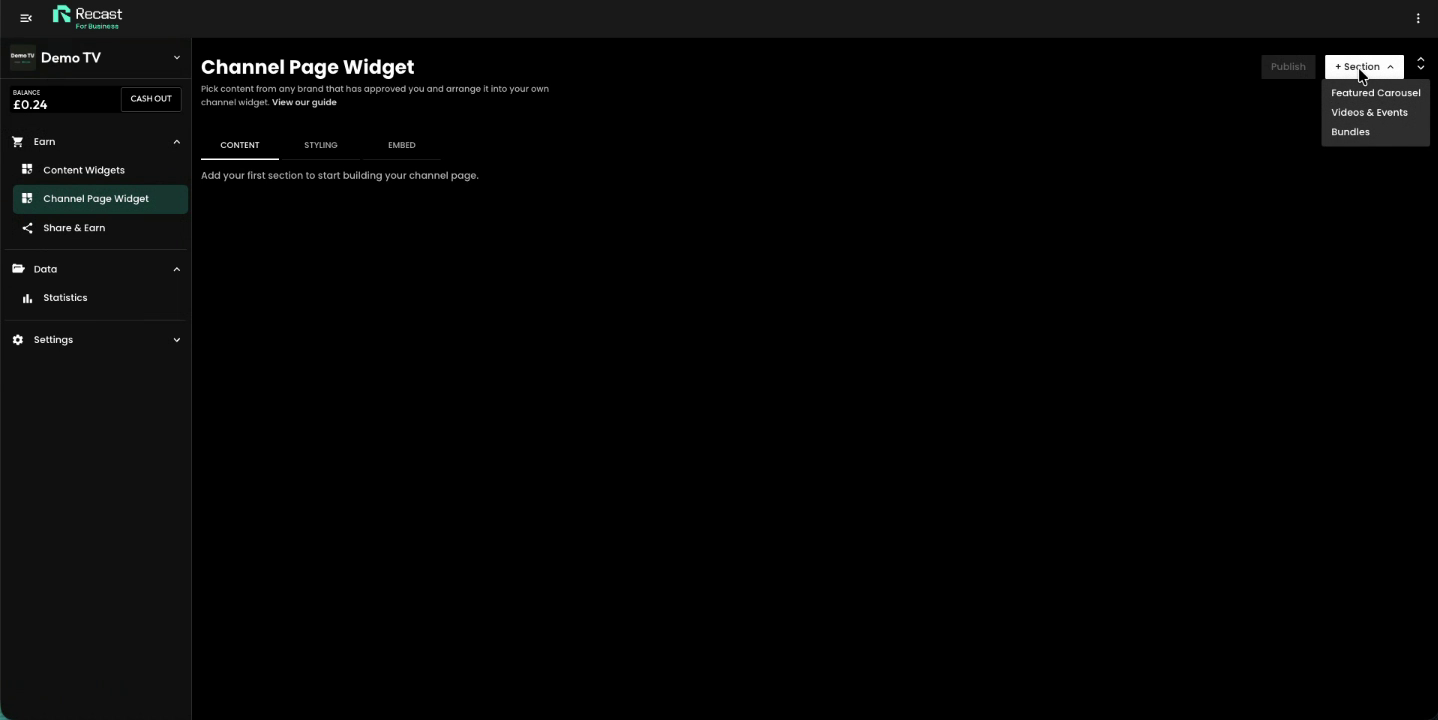
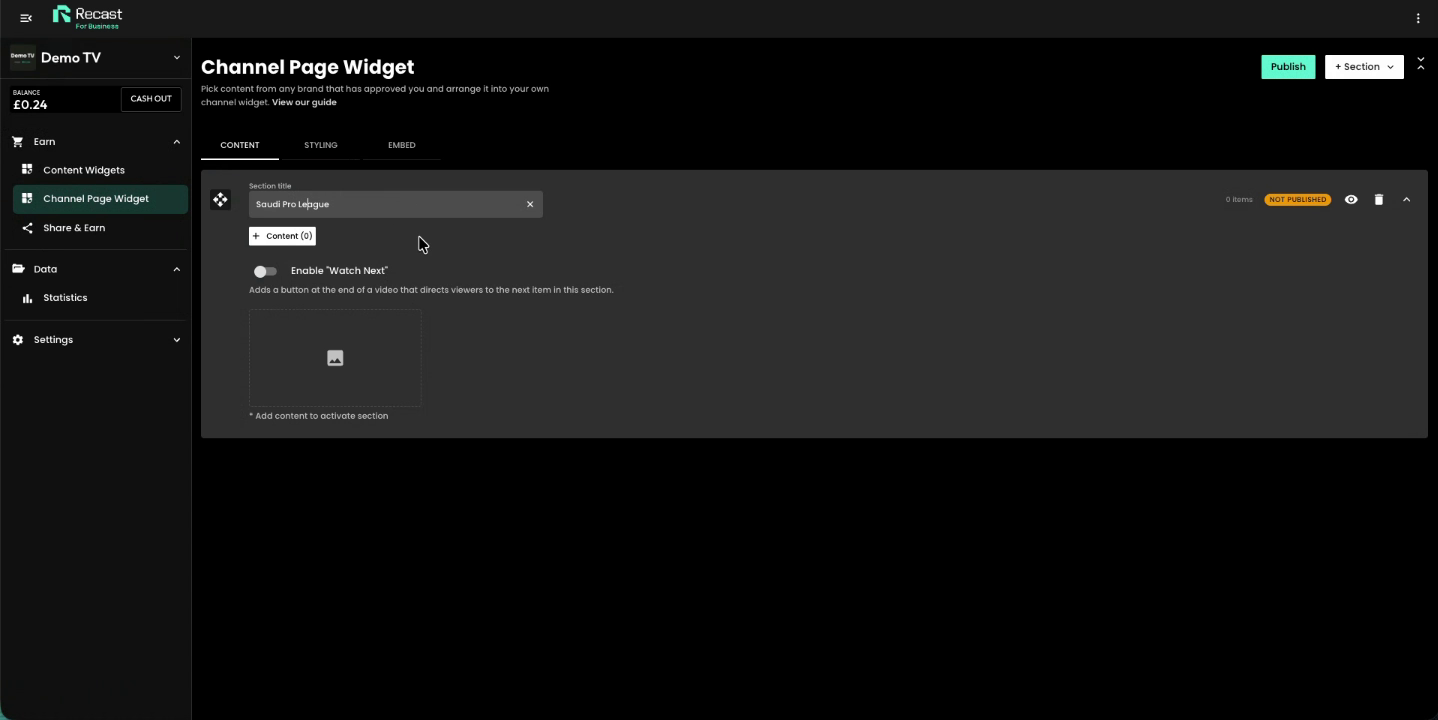
Sections are the rows of content on your channel page. You can add as many as you like and mix content from different brands.
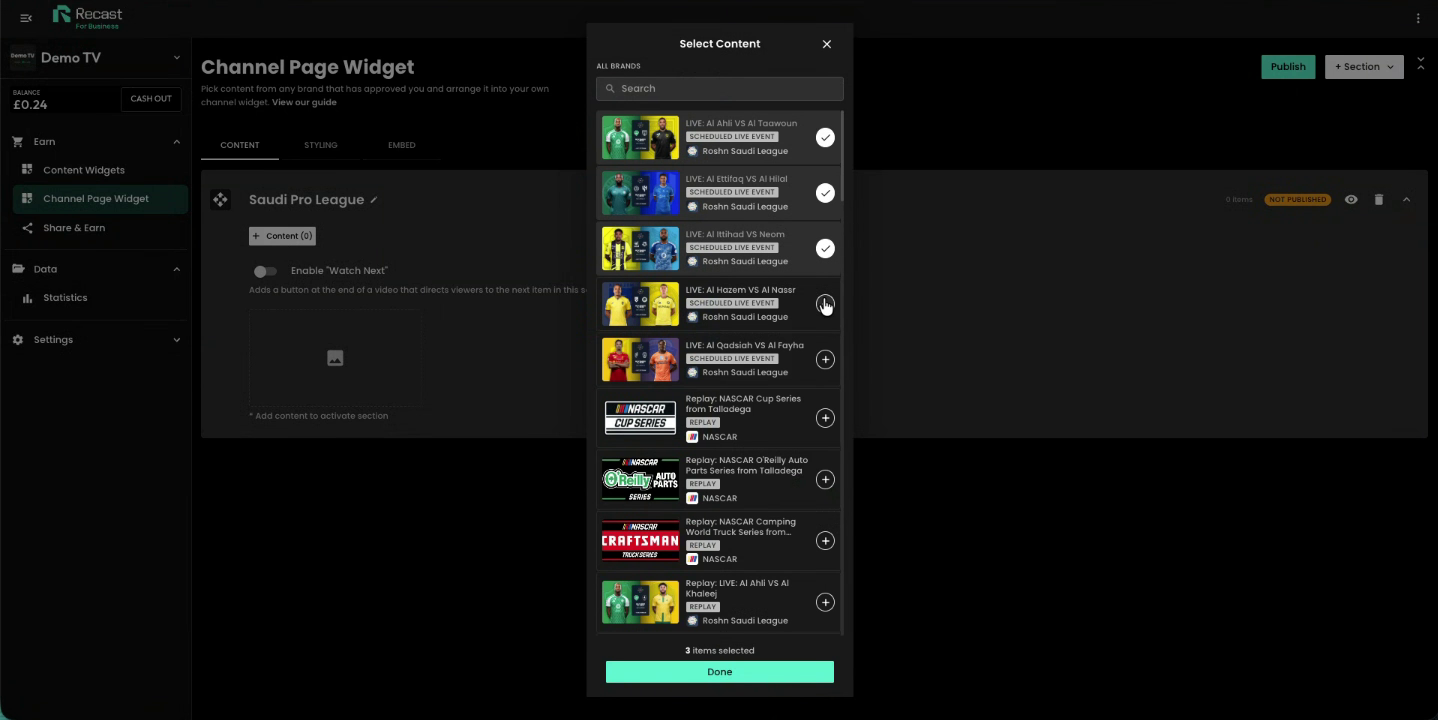
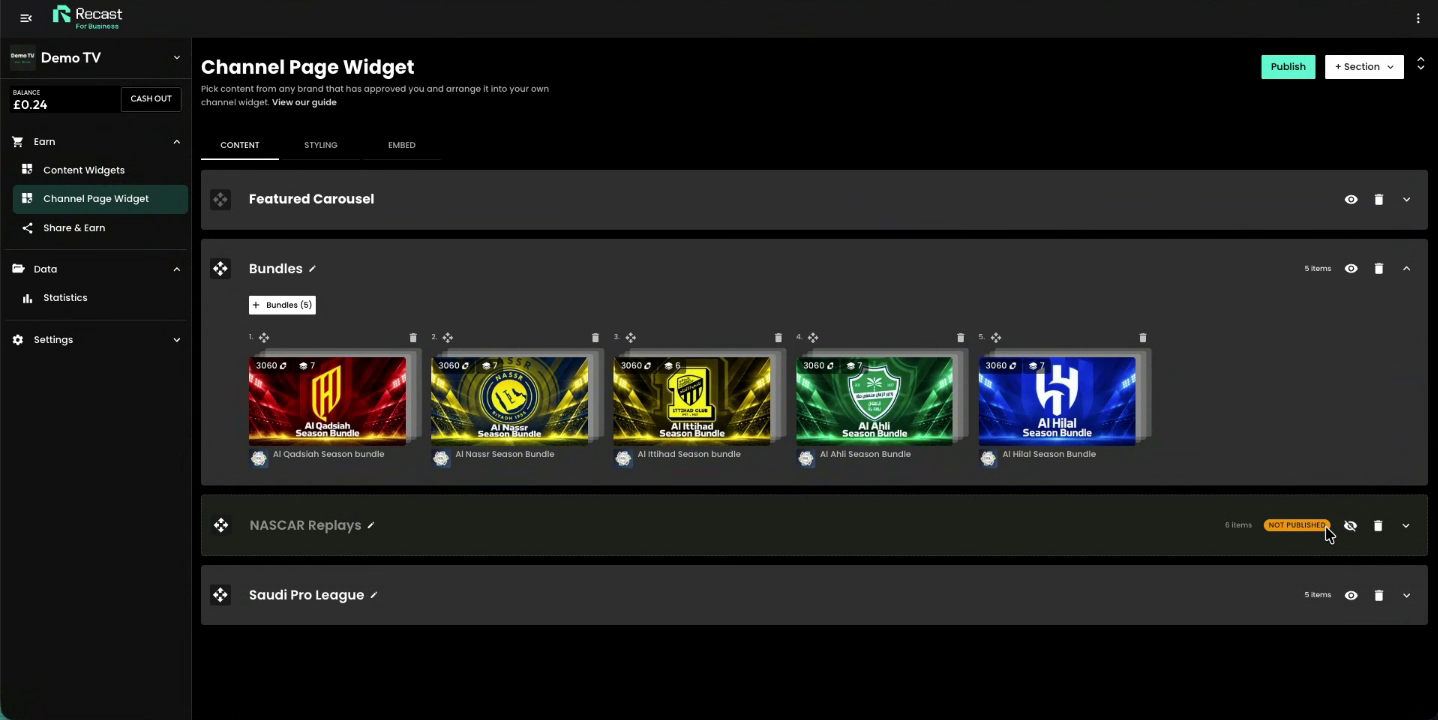
Your items now appear in the section in order. The number on each item is its price in Recast Credits. From here you can:
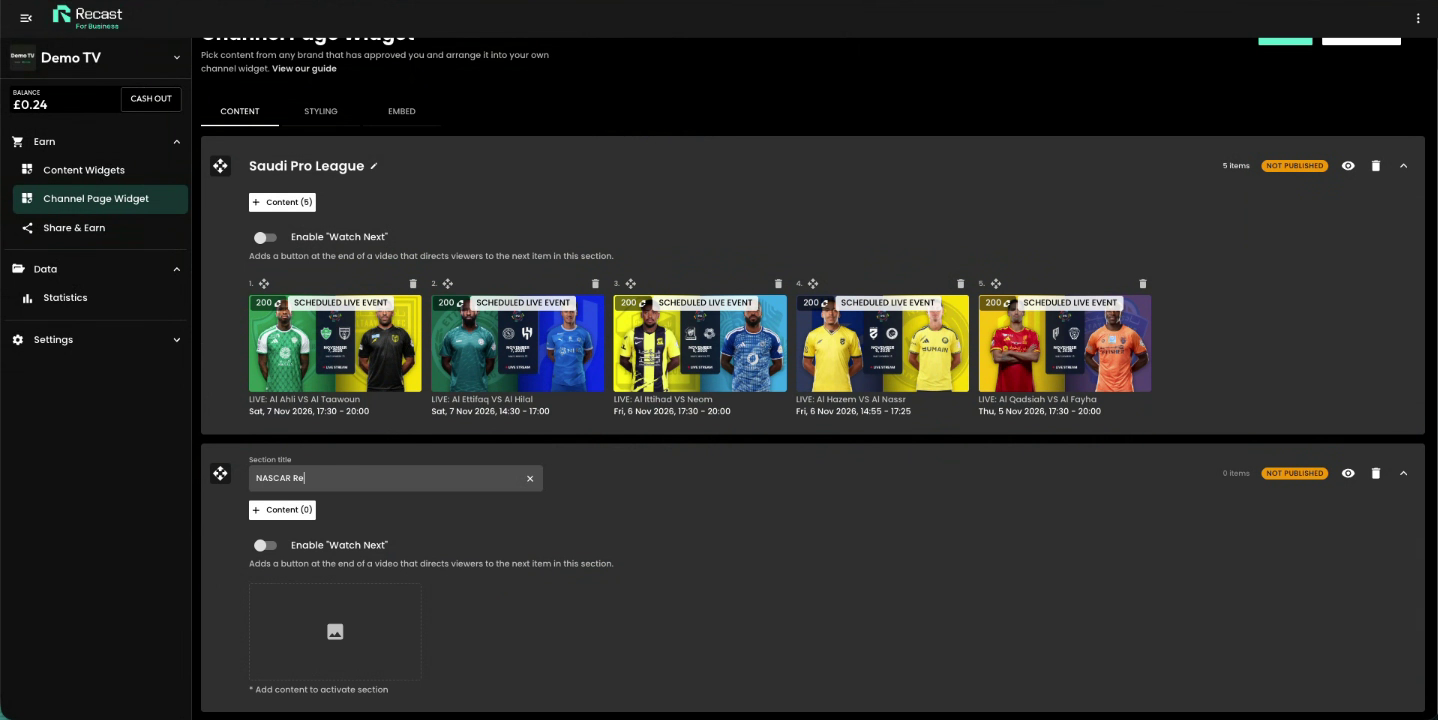
Repeat for each section you want, for example a second section of NASCAR replays.
Note: A section stays inactive until it has at least one item. You'll see Add content to activate section until you add some.
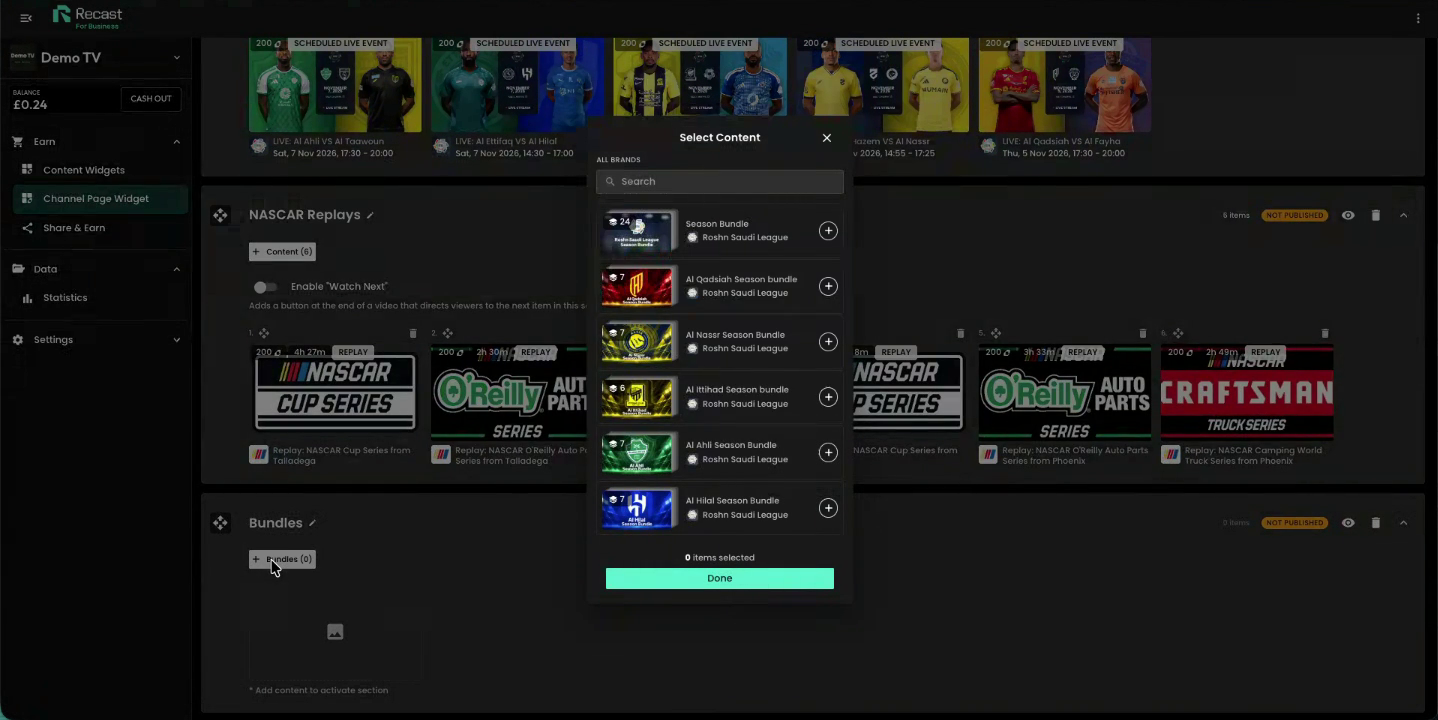
Bundles sections promote the bundles a content owner sells, such as season passes, alongside your individual events.
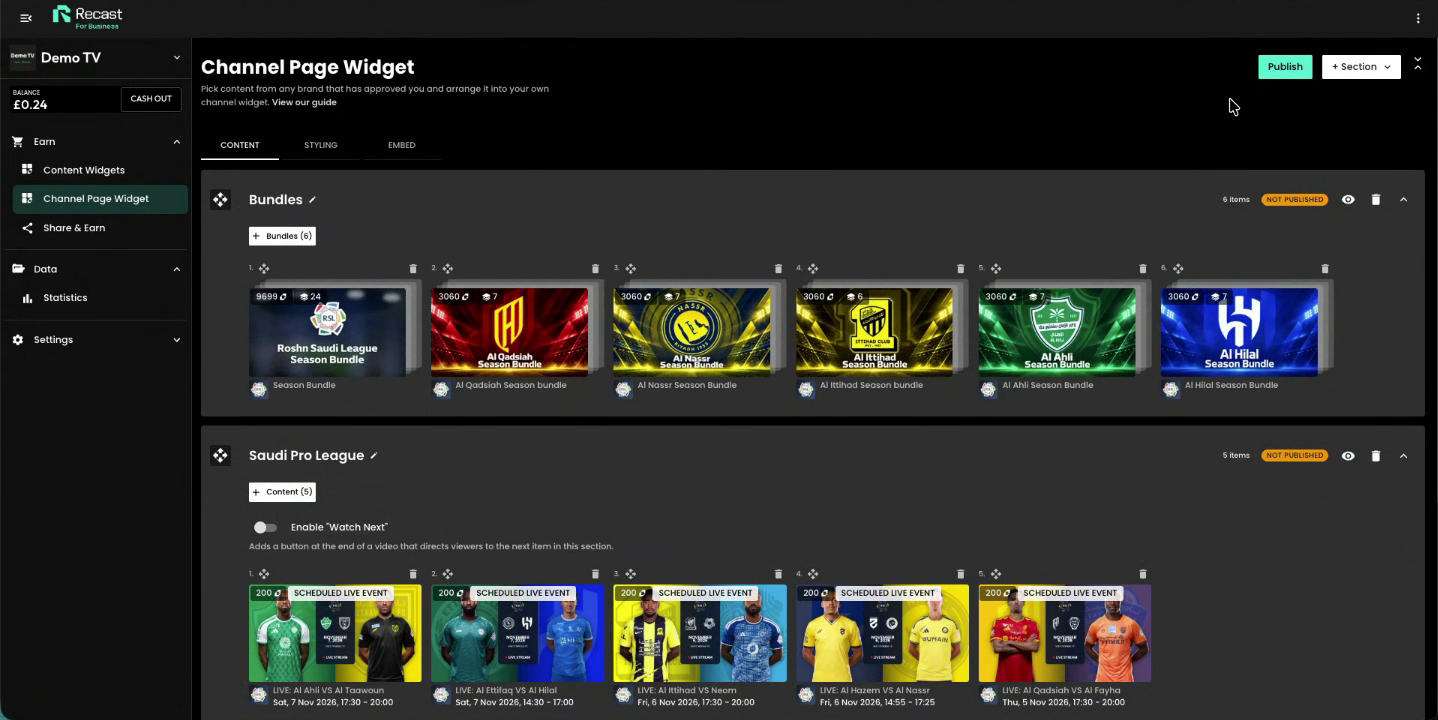
Sections appear on your page in the order shown in the builder. The Featured Carousel is the exception: it's locked to the top. To move a section, drag it by the move handle to the left of its title. In the example below, the Bundles section has been dragged to the top.
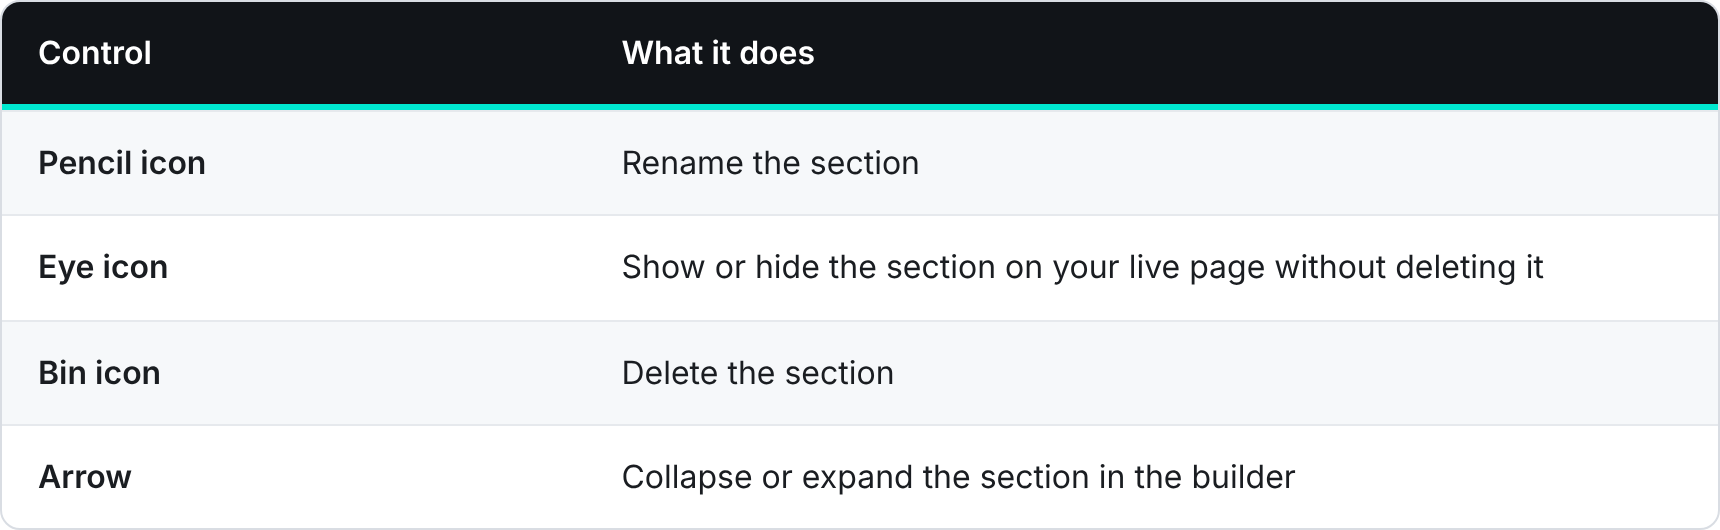
Each section header also has these controls:
The double-arrow icon next to + Section collapses or expands every section at once, which makes reordering easier on a long page.
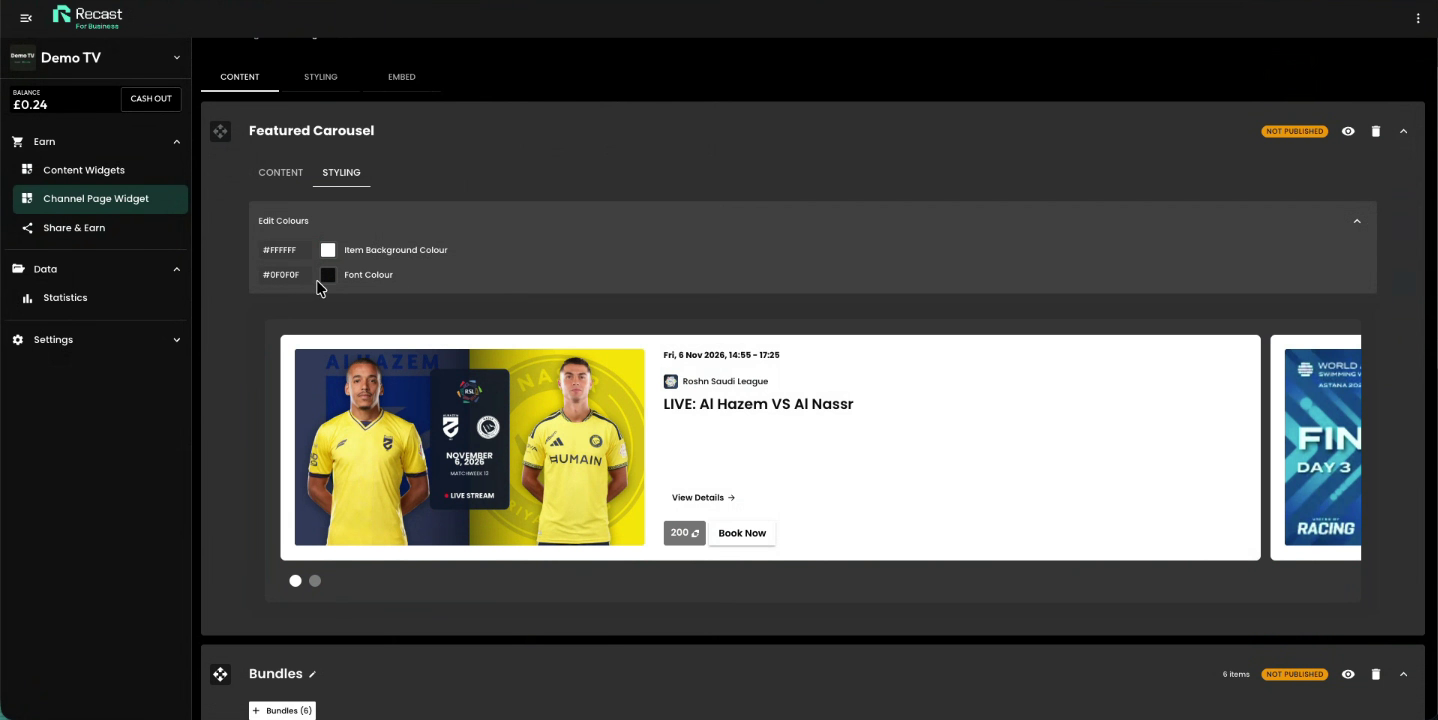
The Featured Carousel is the large banner at the top of your channel page. Use it for the events you most want viewers to see, from any of your approved brands.
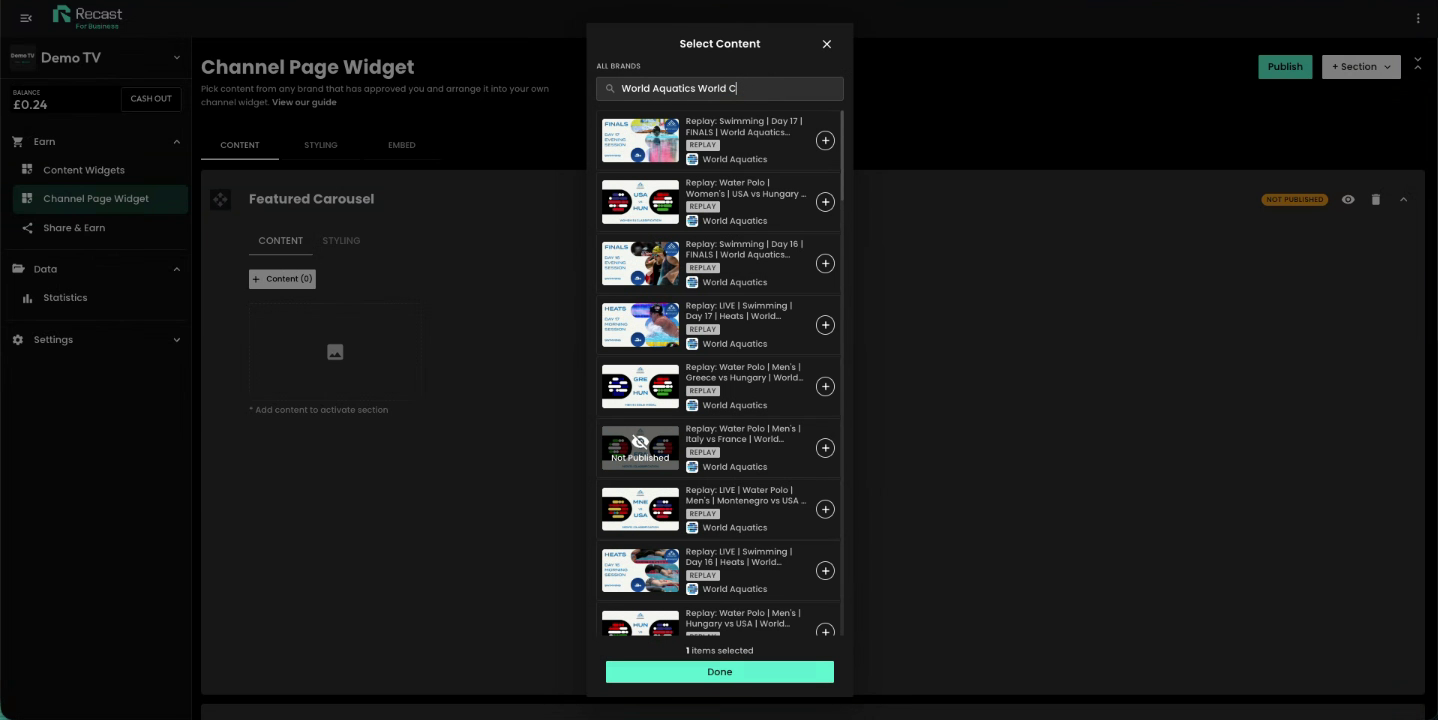
Tip: Items marked Not Published in the Select Content window aren't live yet on the brand's side, so check them before you feature them.
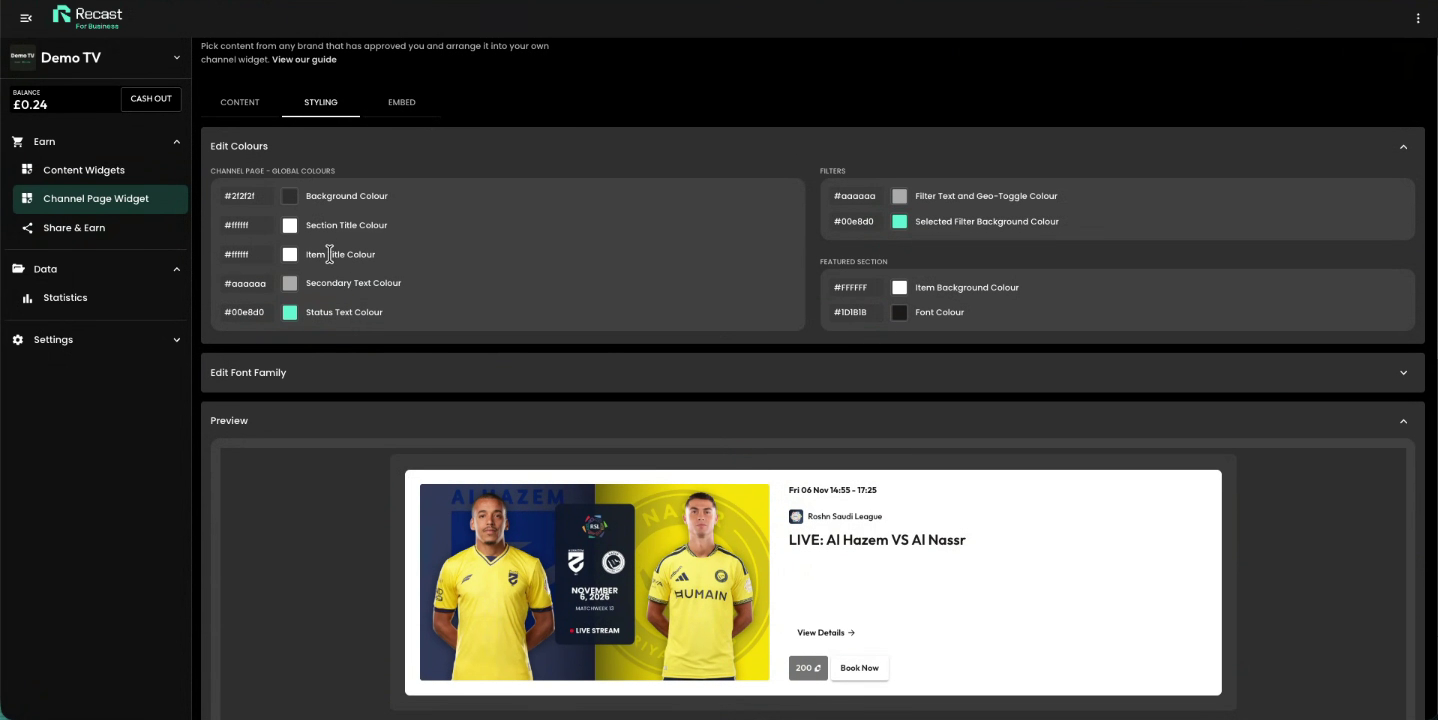
The Styling tab (next to Content, at the top of the builder) sets the look of the whole page so it matches your site.
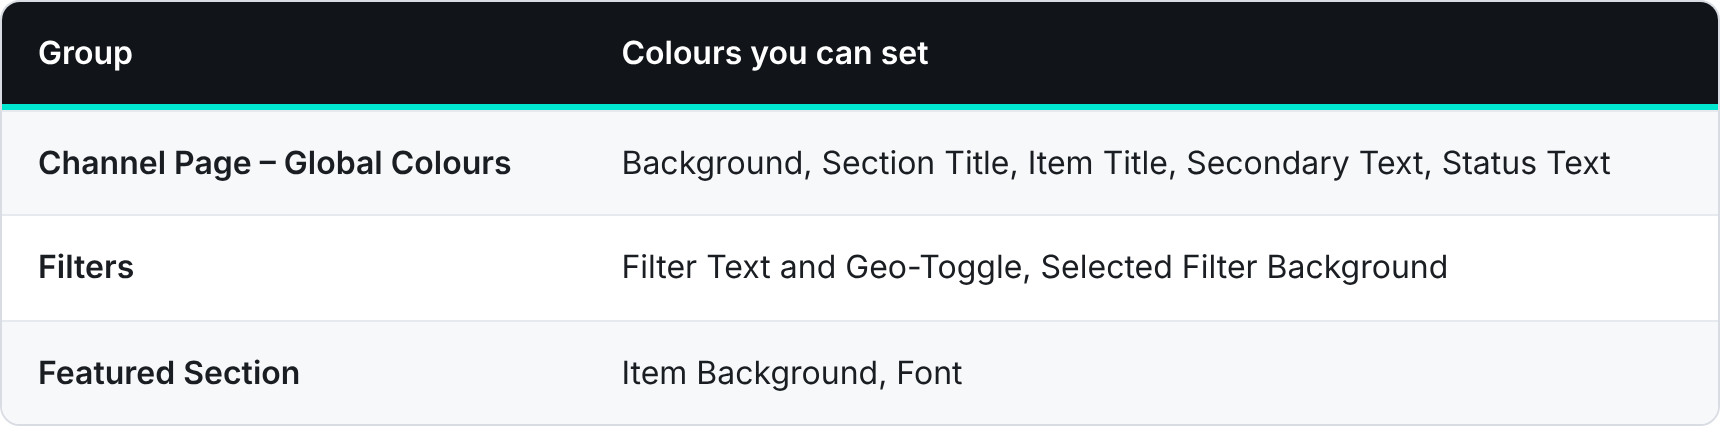
Edit Colours has three groups. Enter a hex code or click a swatch to pick a colour.
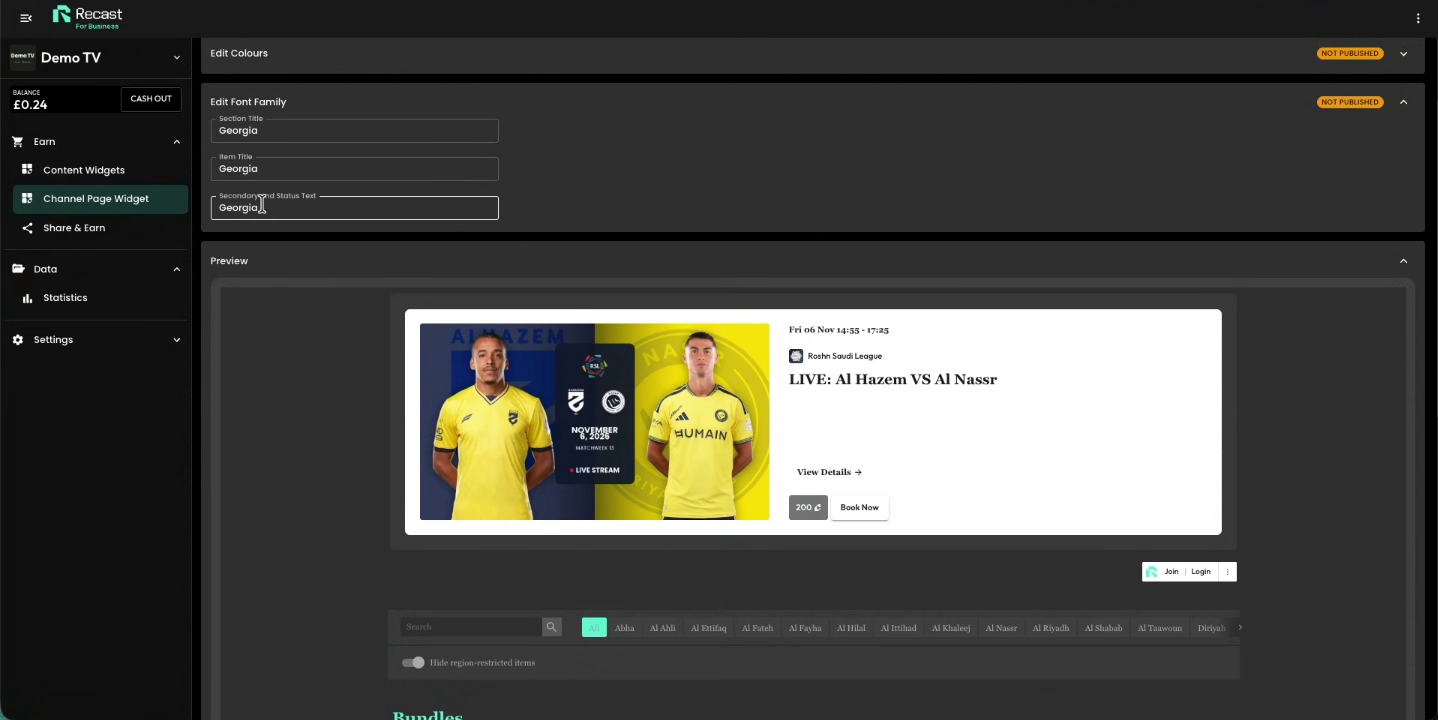
Edit Font Family sets separate fonts for Section Title, Item Title, and Secondary and Status Text. Type the font name, for example Georgia.
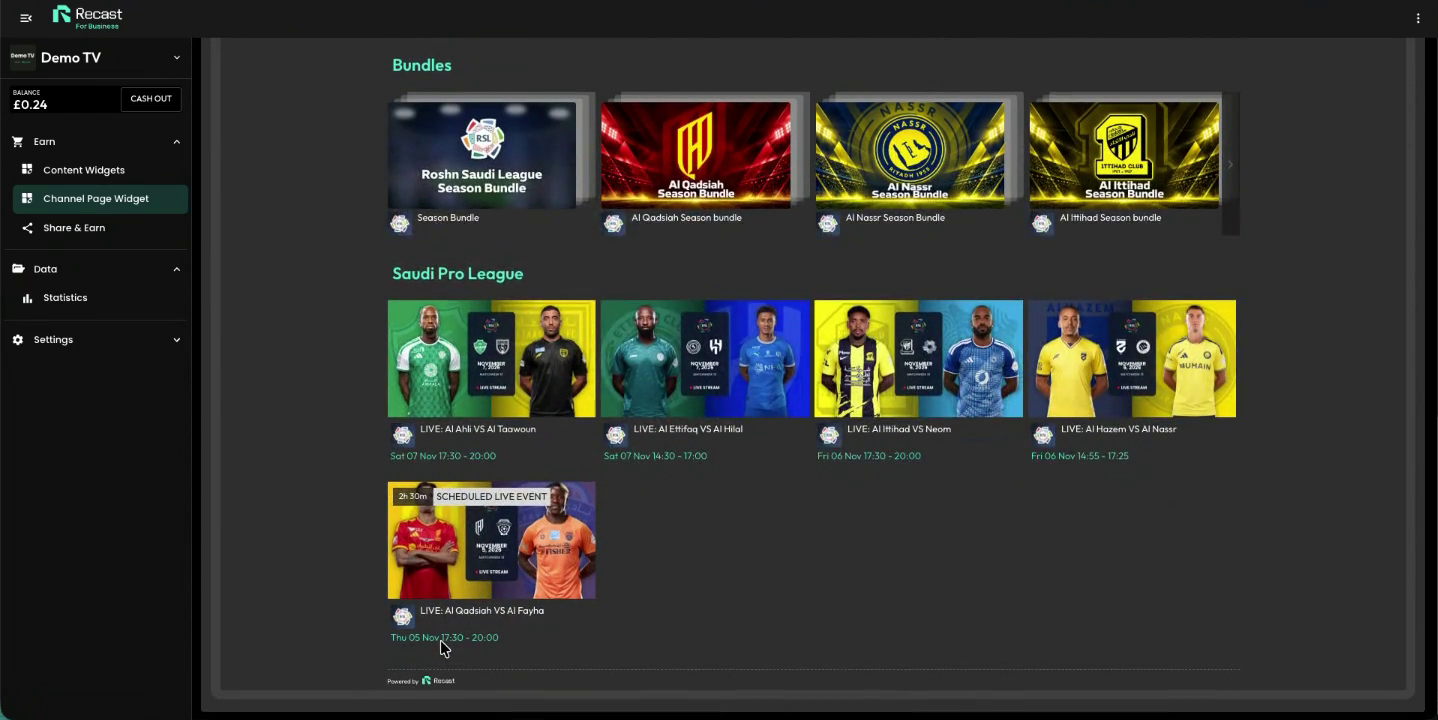
The Preview panel shows your page as viewers will see it, including the carousel, the search and filter bar, and every section.
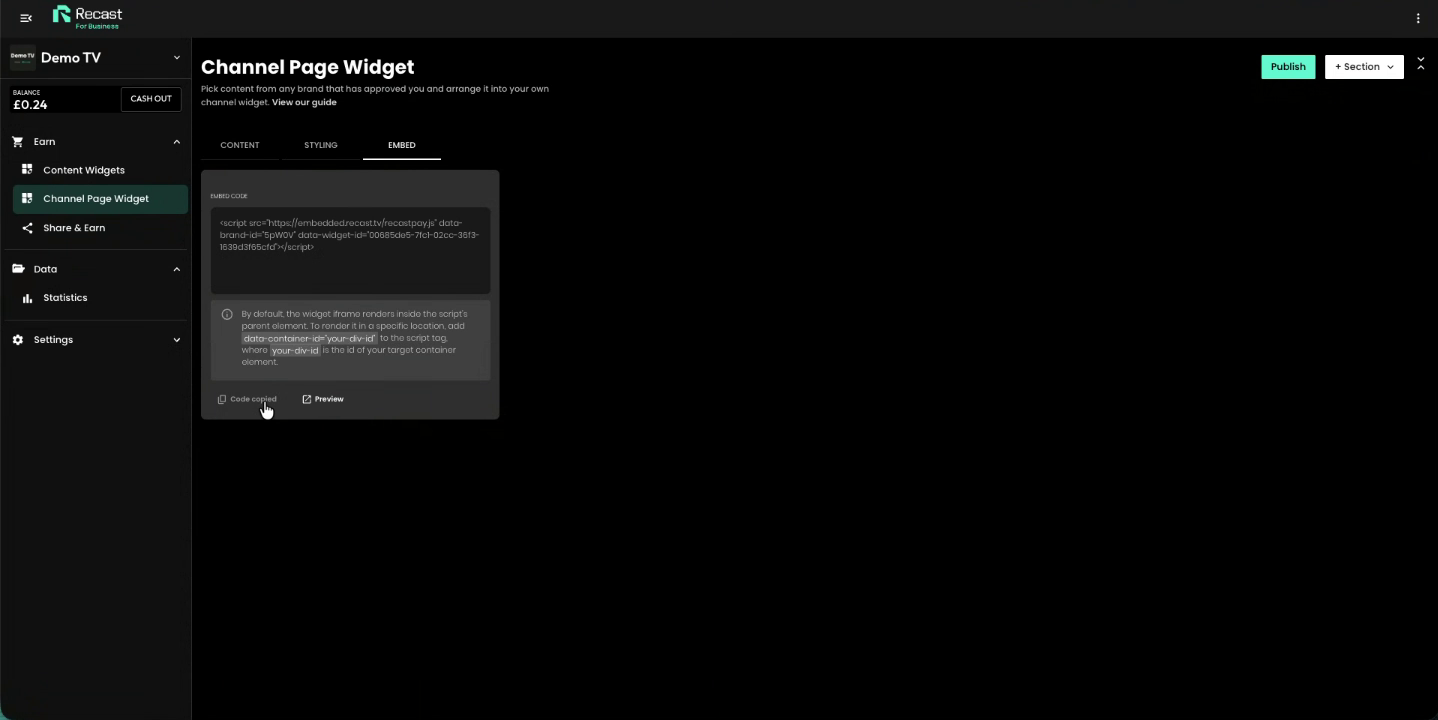
By default, the widget renders inside the script's parent element. To place it somewhere specific, add data-container-id="your-div-id" to the script tag, where your-div-id is the id of the element you want it to appear in.
You only need to embed the code once. Changes you make in the builder reach your site the next time you click Publish; you don't need to update the code.
Each change shows a Not Published label until you publish it, so you can see at a glance what's waiting to go live.
Why can't I see a brand's content in Select Content? Only brands that have approved you as a publisher appear. If a brand is missing, email partnersupport@recastpay.com to request approval.
My section says "Add content to activate section". What does that mean? The section is empty. Add at least one item or bundle and it becomes active.
I made changes but my site hasn't updated. Check for orange Not Published labels and click Publish.
How is this different from Host & Earn content widgets? Content widgets embed all content from a single brand, or allow you to show selected videos and events (from one or multiple brands). A Channel Page Widget combines content and bundles from all your approved brands on one page, with your own Featured Carousel and styling.


